
This page is a work in progress, more details to come.
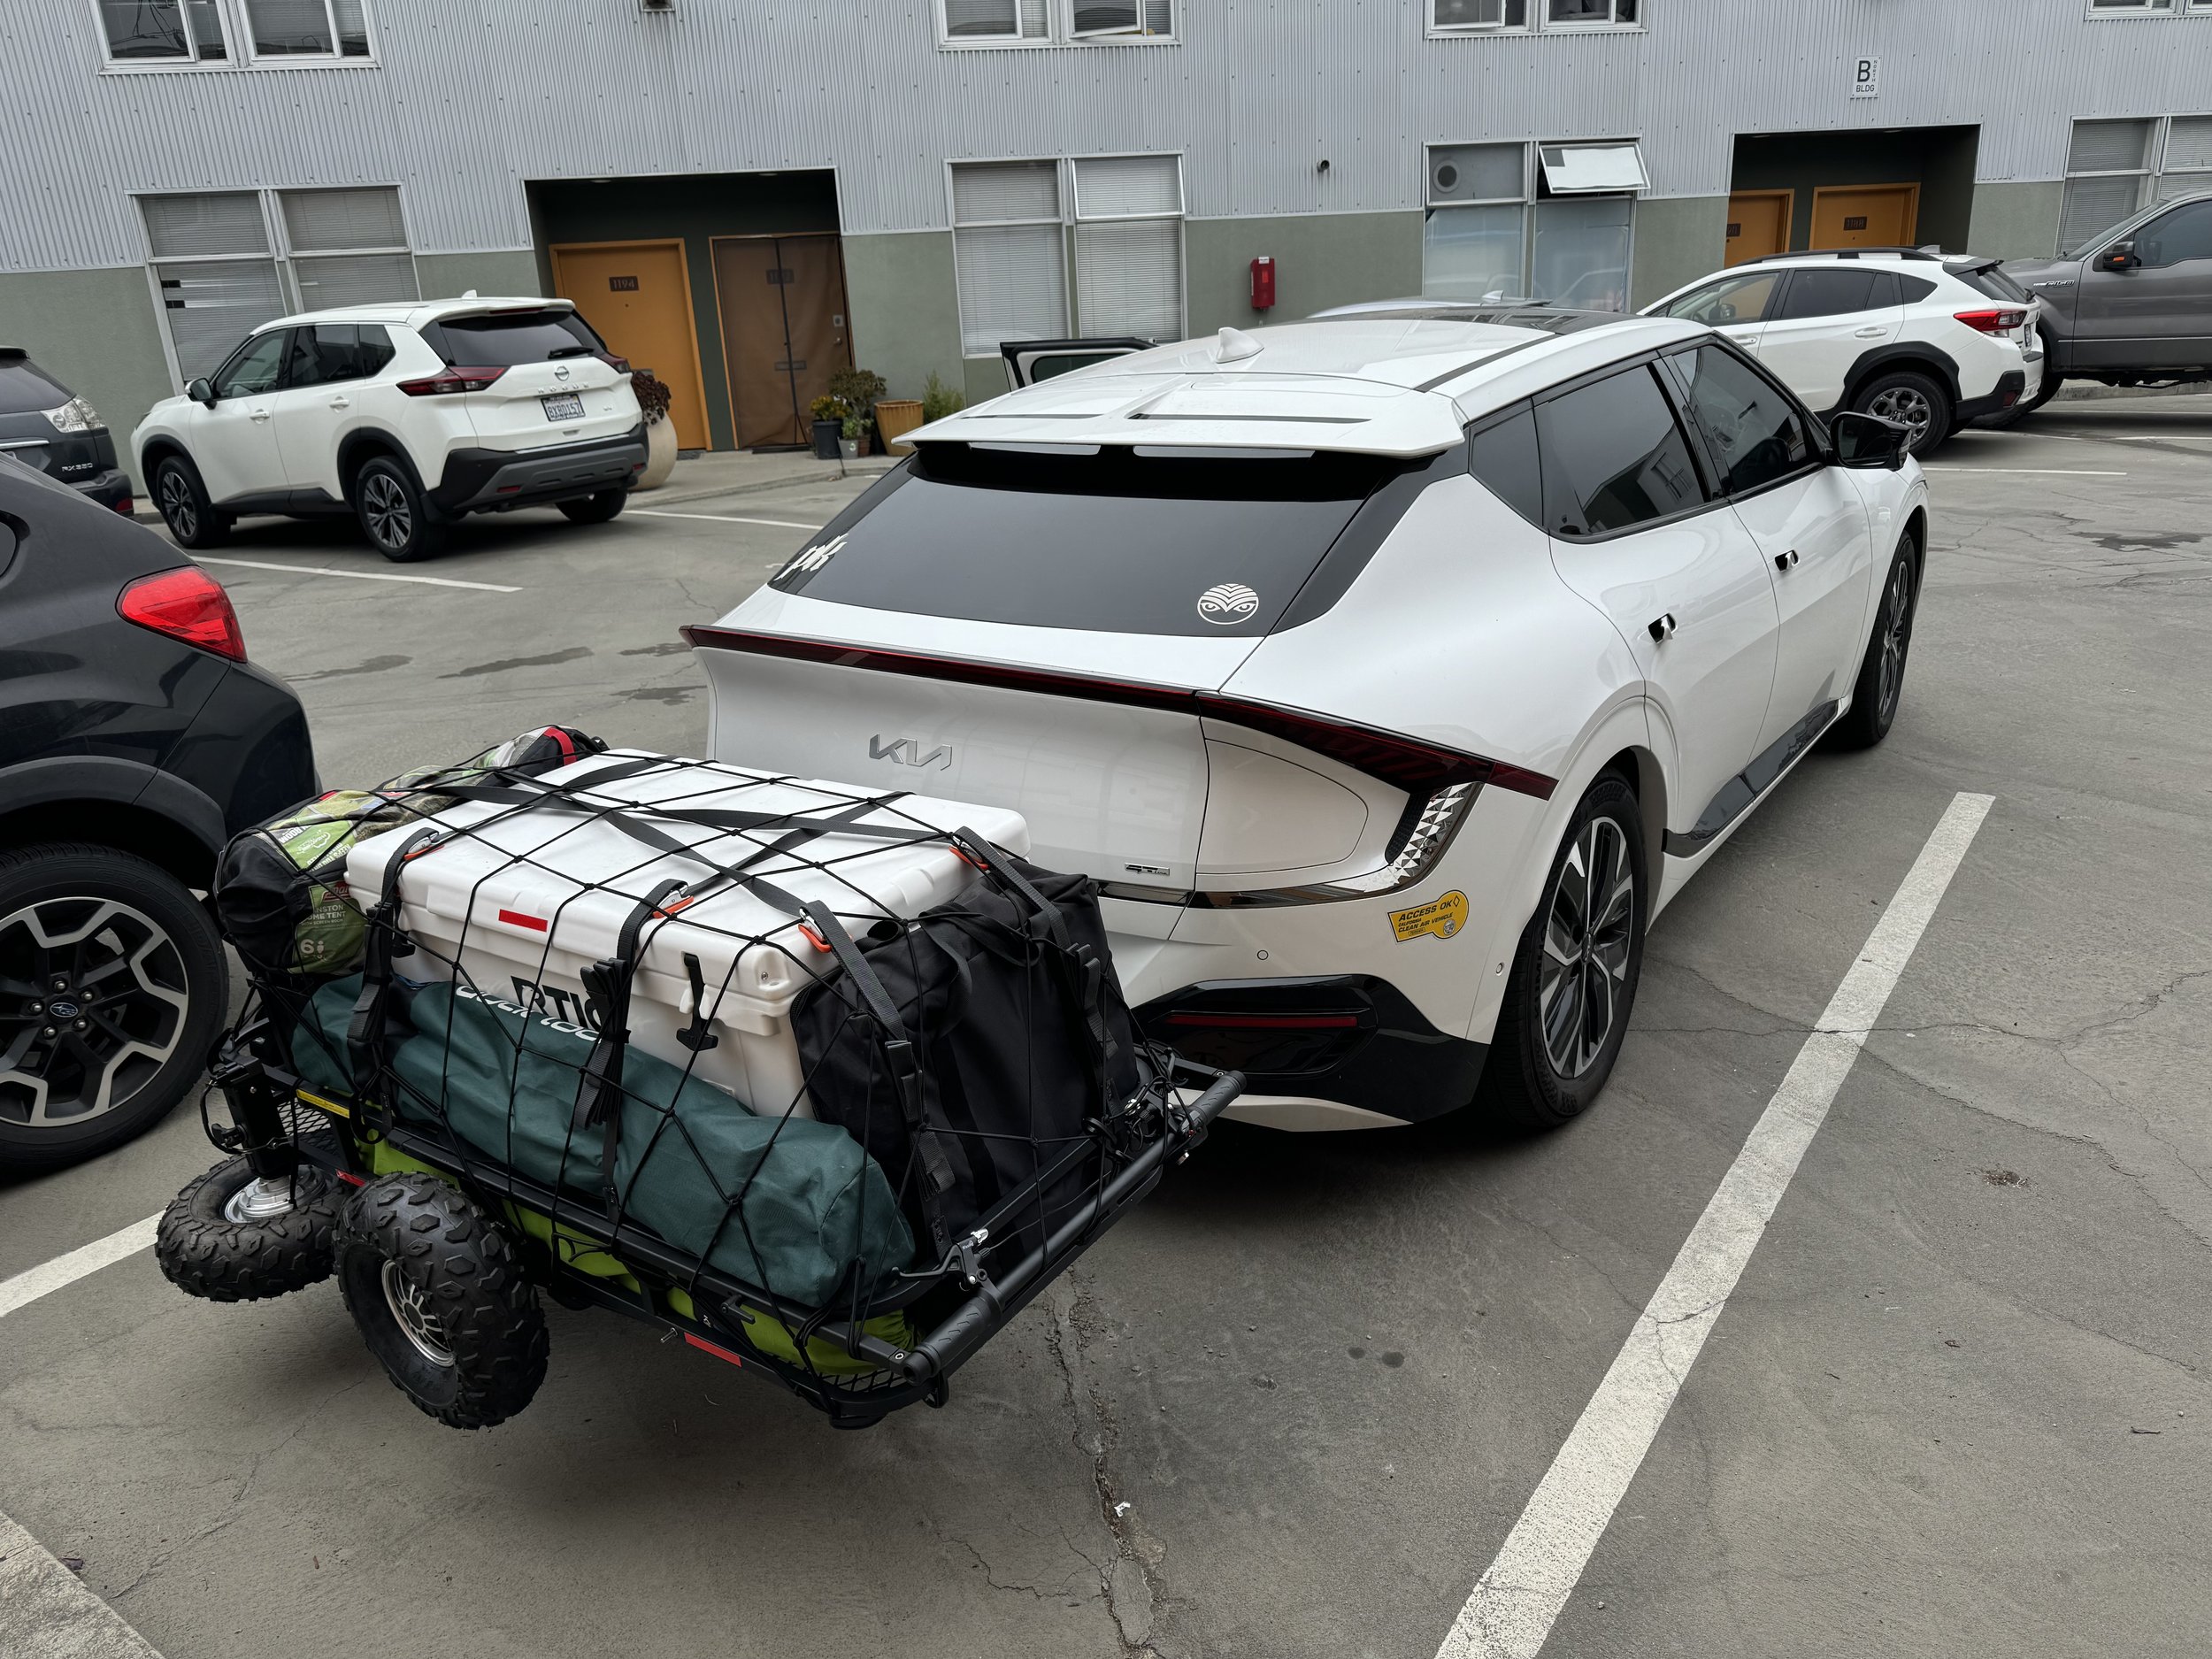
Many of the festivals I attend require lugging your gear from the parking lot to the camping area. I don't like to be stingy when I’m camping for a festival so this is always a bit of a pain. The standard folding carts that I see everyone use are fine, but they tend to fall apart quickly. For years now I’ve used a “game cart” I got from Cabellas.

This has always worked so much better than the folding carts (and I’ve received many comments from other festival attendees). However, it always had some downsides for me, primarily that even in it’s folded state, it still takes up a lot of room in the car. And it still requires a lot of effort to push (the 1.5mi hike from parking to metta camping at Shambhala is no joke in the mid-day heat).
Last year while on a road trip I happened to notice a hitch-mounted cargo carrier on the back of a car and the thought occurred: "I could put wheels on that and make it a cart!". This would remove the hassle of needing to fit a cart inside the car, and give me more capacity on the outside. Hell, why not throw some electric motors on it so I don't even need to push it!
So here we are.
Preparing the Car
I installed the Stealth Hitch kit on my EV6. I had to slightly modify the brackets that hang the undershield so that they would fit around the beam. This also reqired widening the holes on the shield since the studs slightly moved.


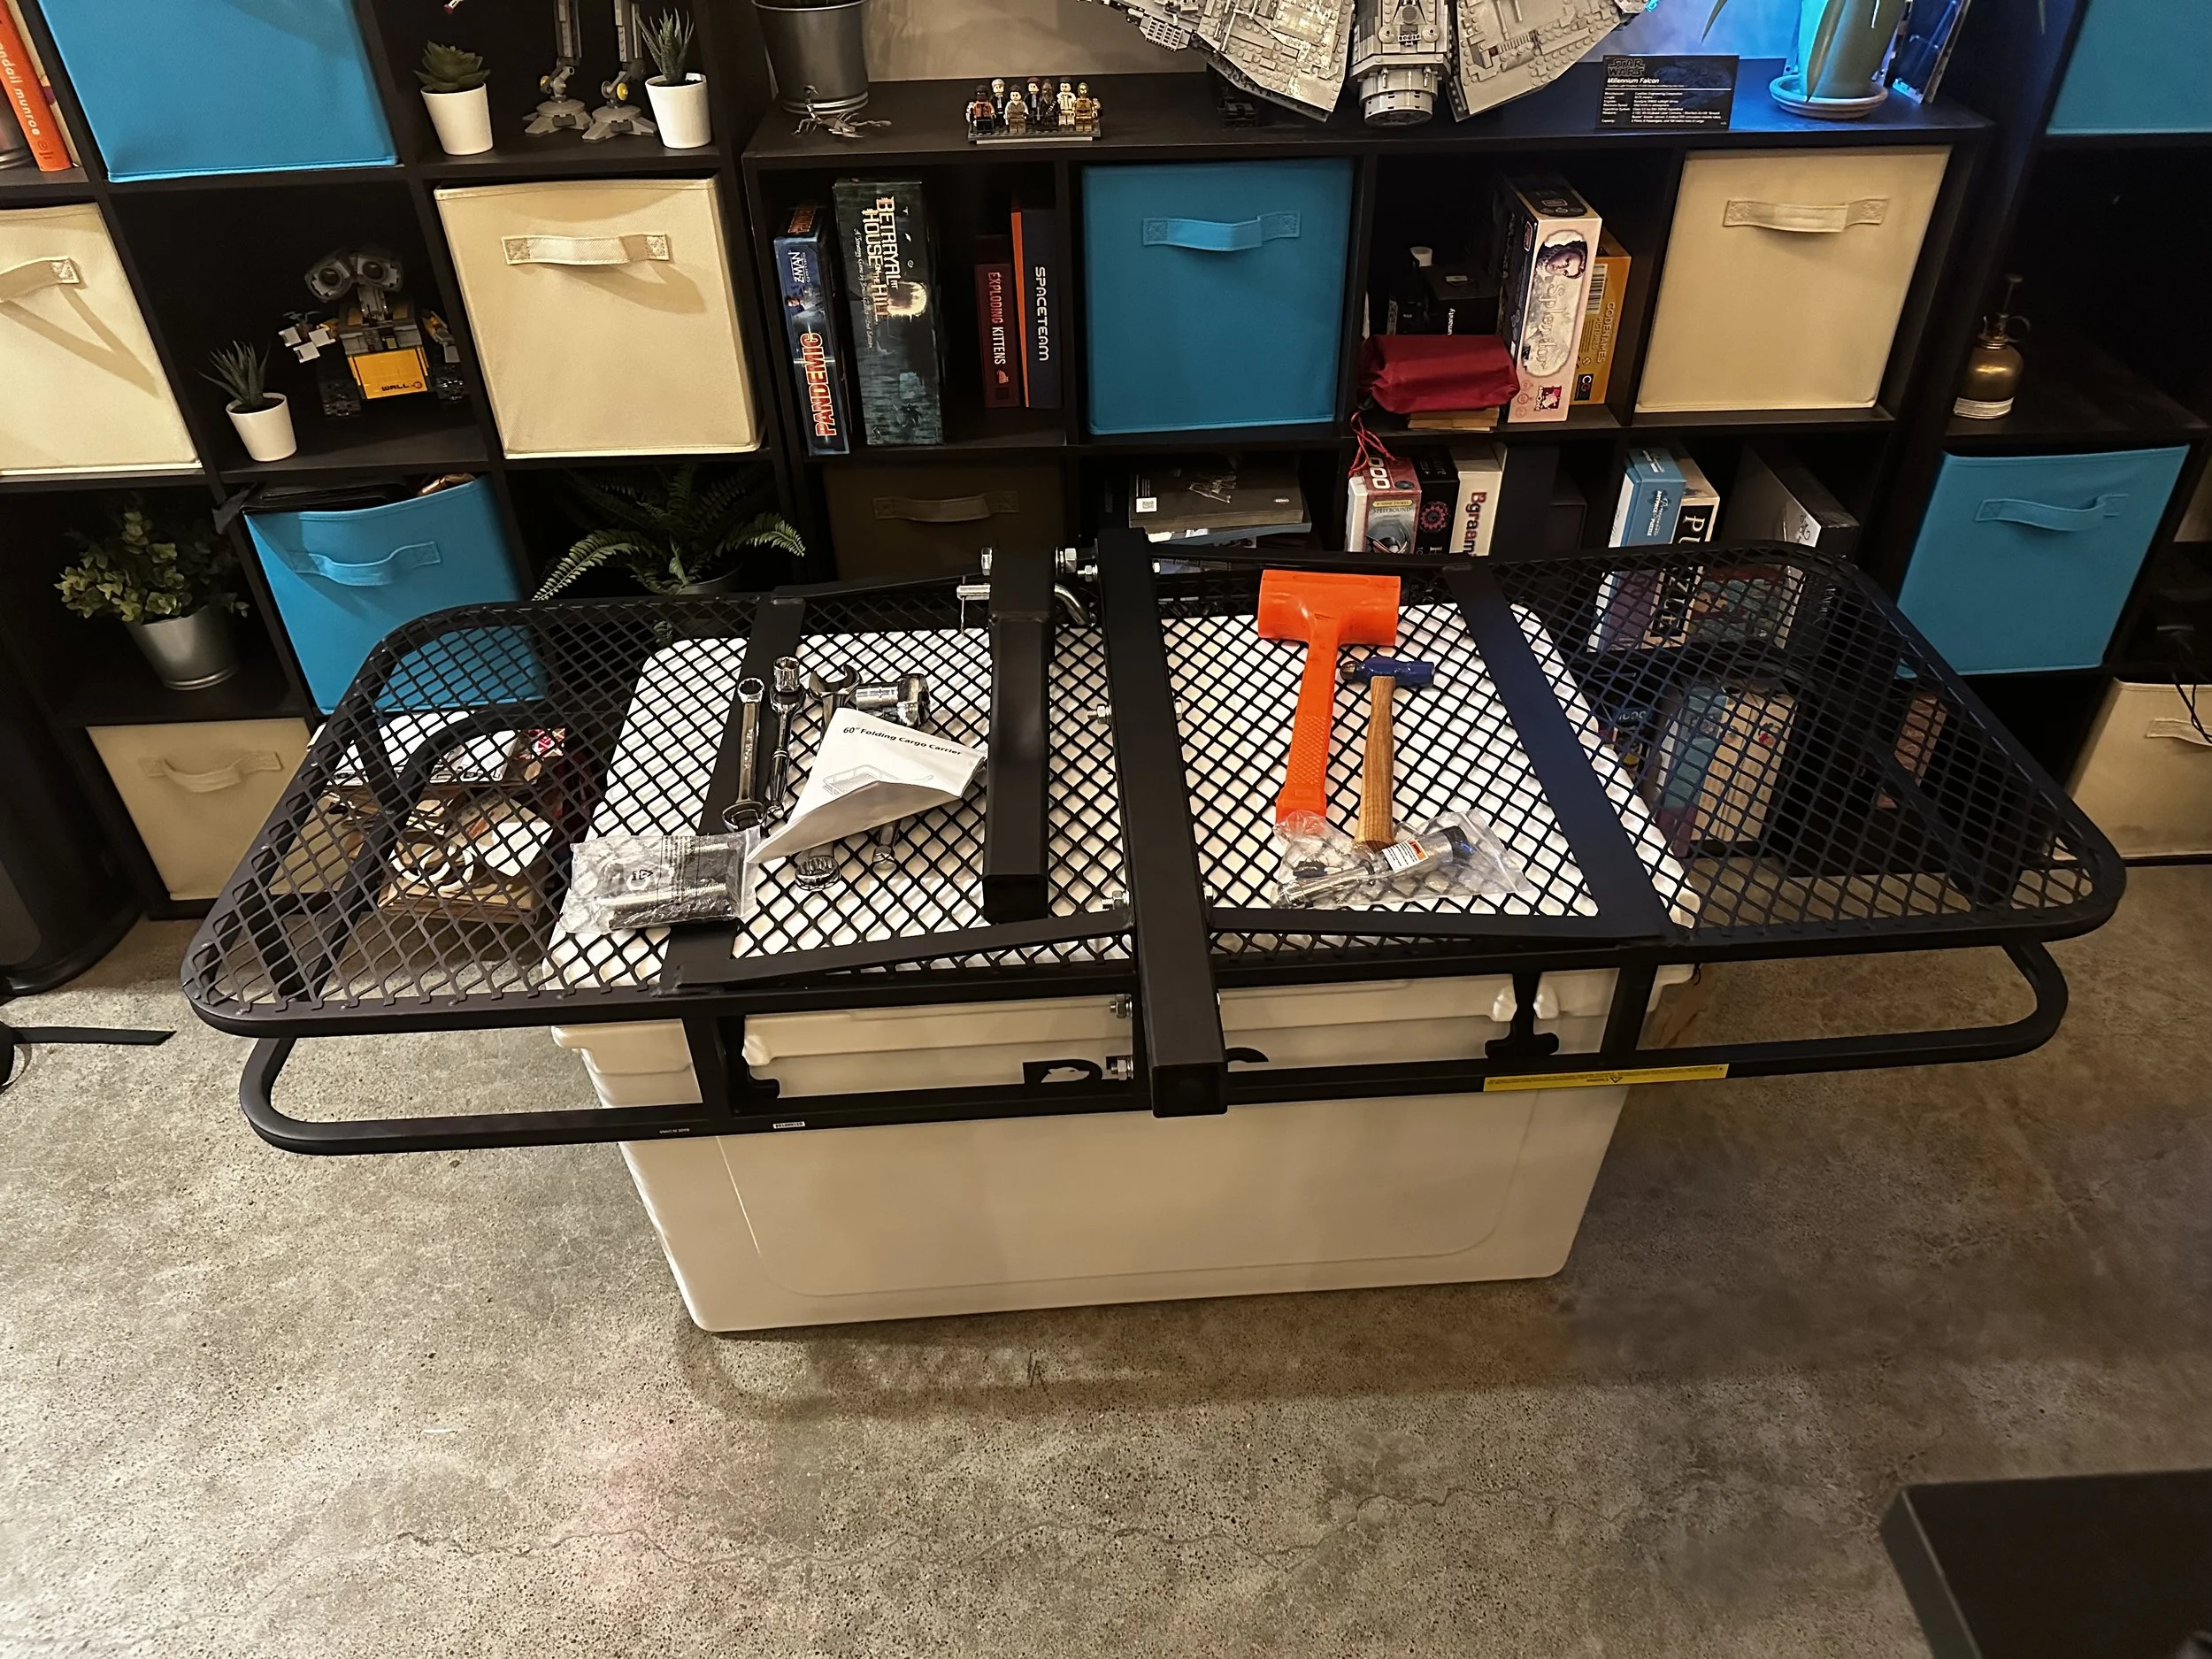
I test fit the cargo carrier as-is to get a feel for how things would fit. I also used a 10” hitch drop (mounted upside down so it acts as a riser).

Mounting the Wheels
I ordered a set of two wheels with hub motors from AliExpress (no link as listing is no longer active). They are 48V, 800W motors.
First, I cut the central beam of the cargo carrier so that it was symmetrical and didn’t protrude. I then needed to find a way to mount the motors in the end of this square tube. I designed a part and after testing the design with a 3D print, had it manufactured and powder coated by PCBWay. The tolerances didn’t quite come out perfect due to the thickness of the paint, so I had to file away to get the parts to slide in nicely.
Finding the right combination of hardware that would fit in the small space and be able to be tightened was tricky. I ended up using a nut with spanner holes on the outside circumference that I could tighten with a hammer and punch. I also used nord-lock washers to ensure these bolts would never come loose.


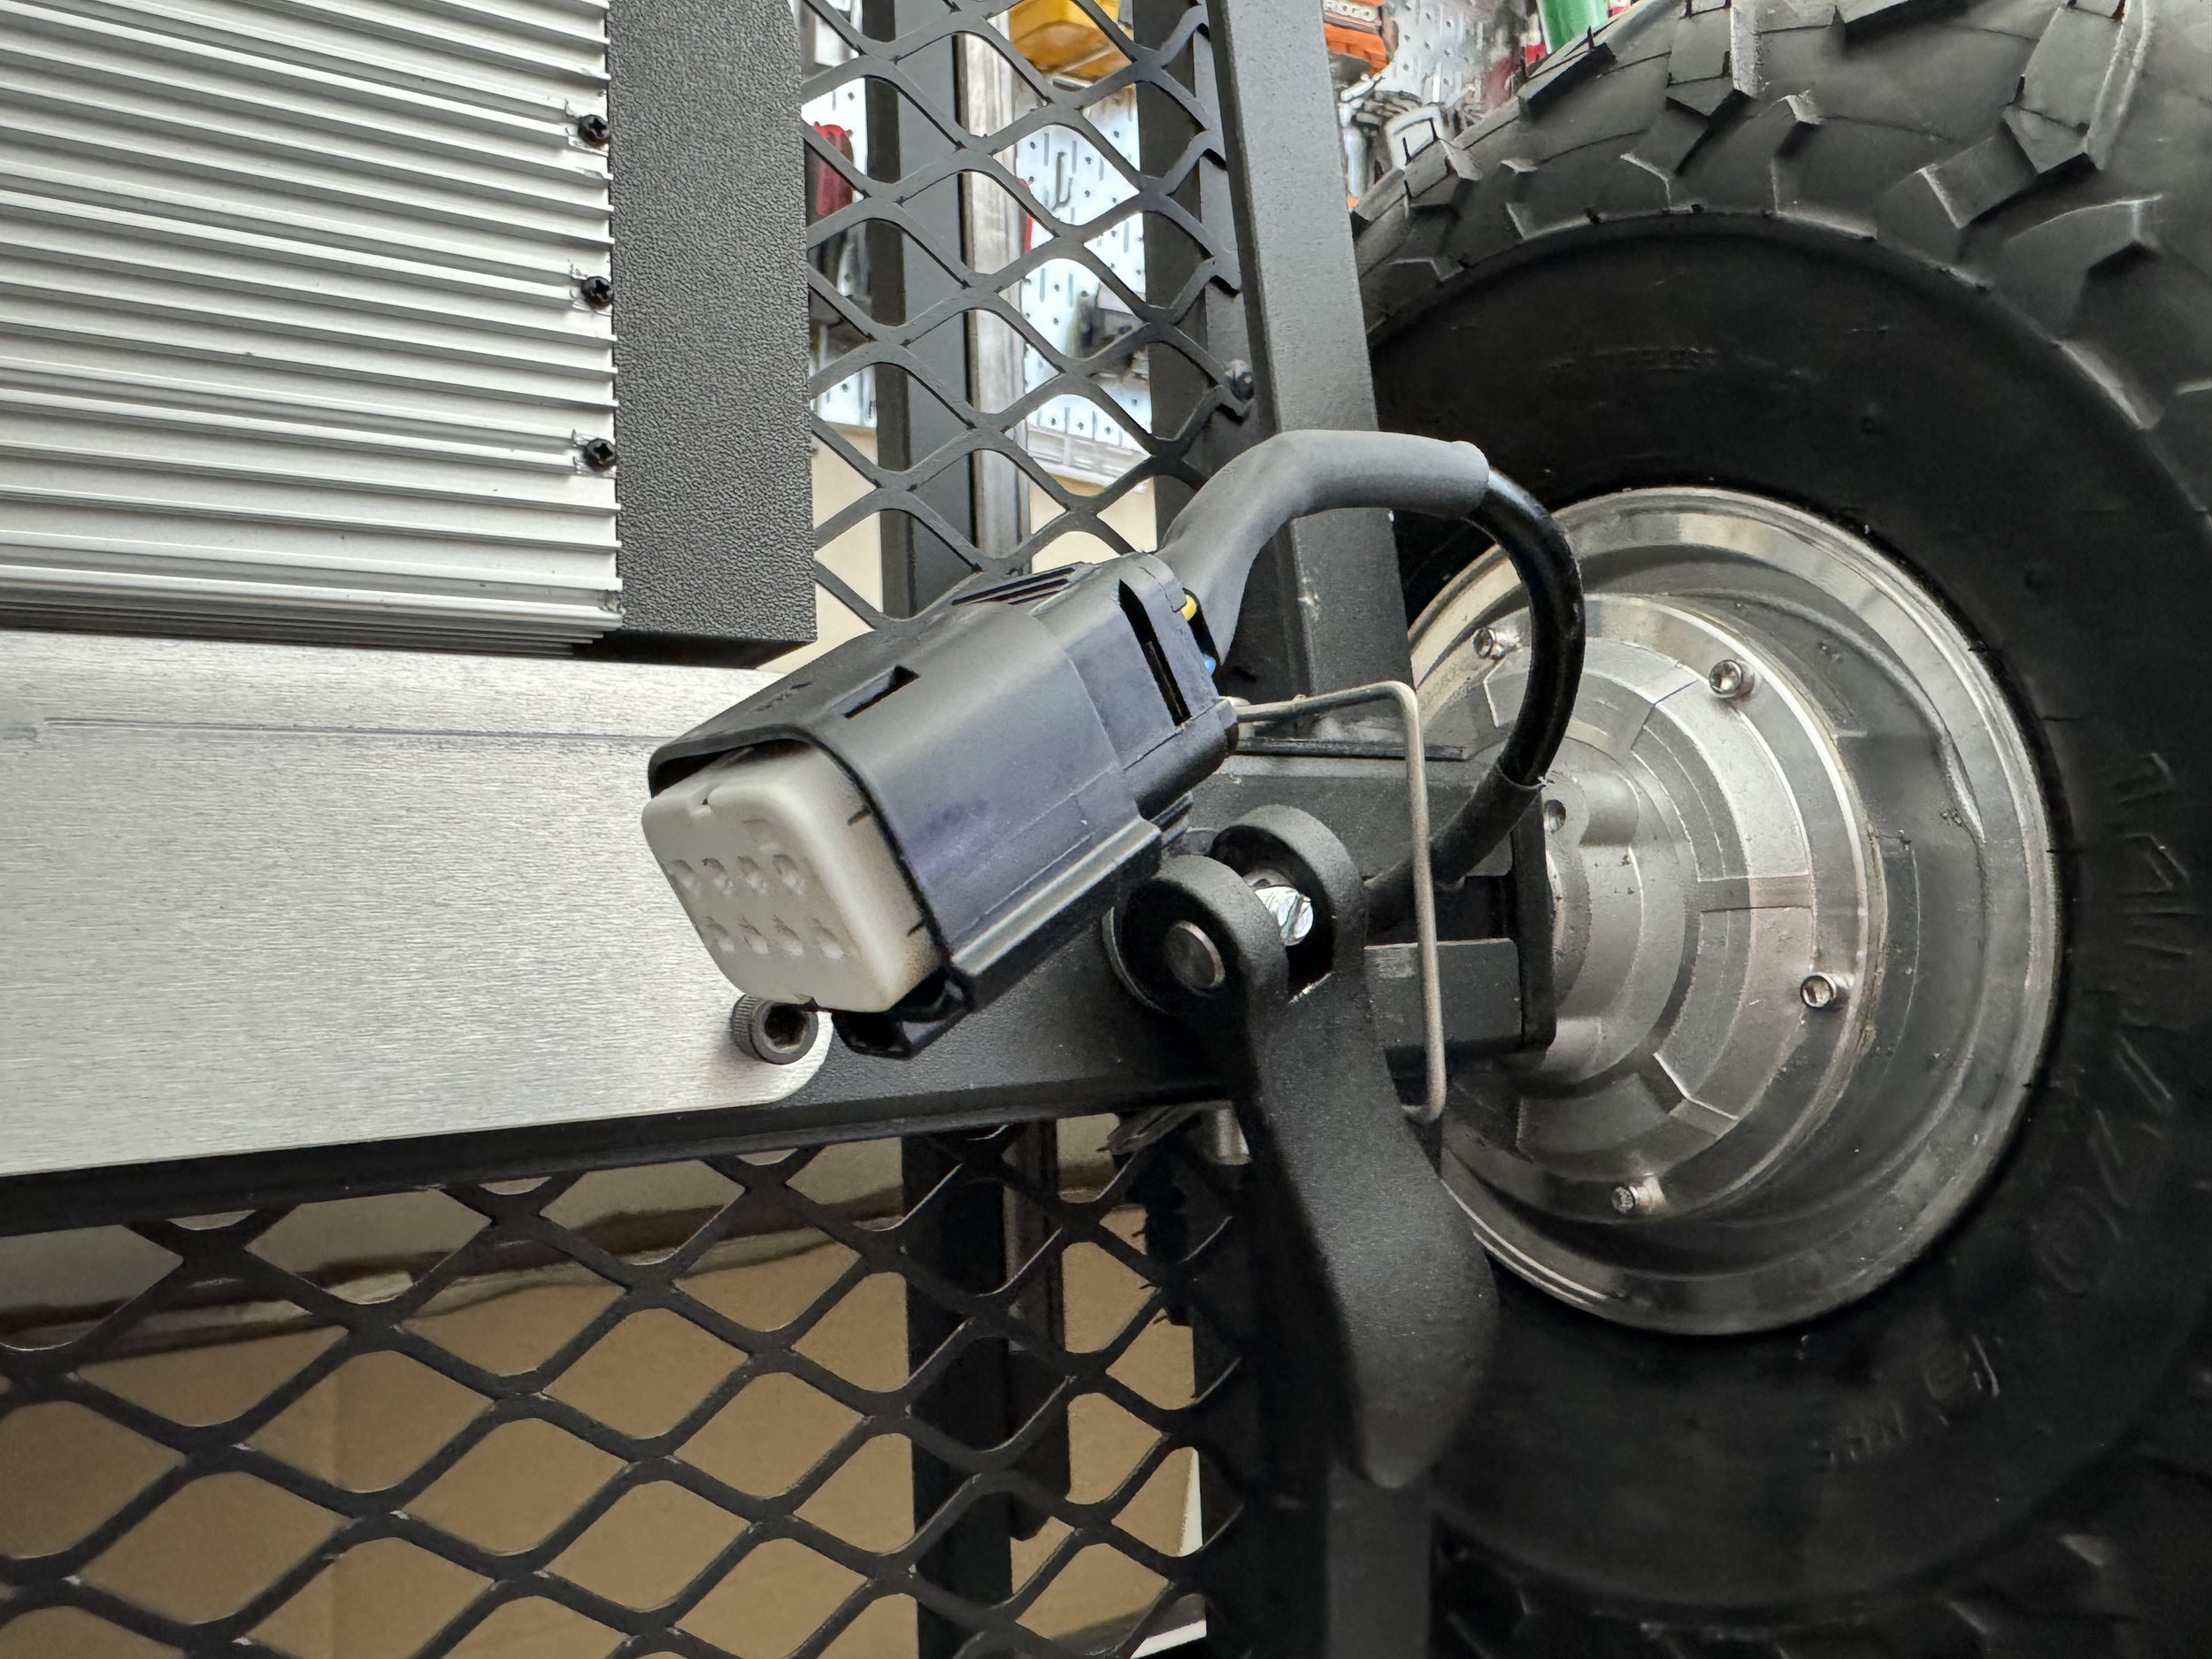
The wheels are both detachable using a cam-lock lever to tighten them and a cotter pin for extra security. A slot cut in the tube allows the wheels to slide out.
A second part was made by PCBWay in oder to adapt the hitch riser to the square tube of the cart. This mounts with the same cam-lock and cotter pin arrangement. (Picutres needed)
Electronics
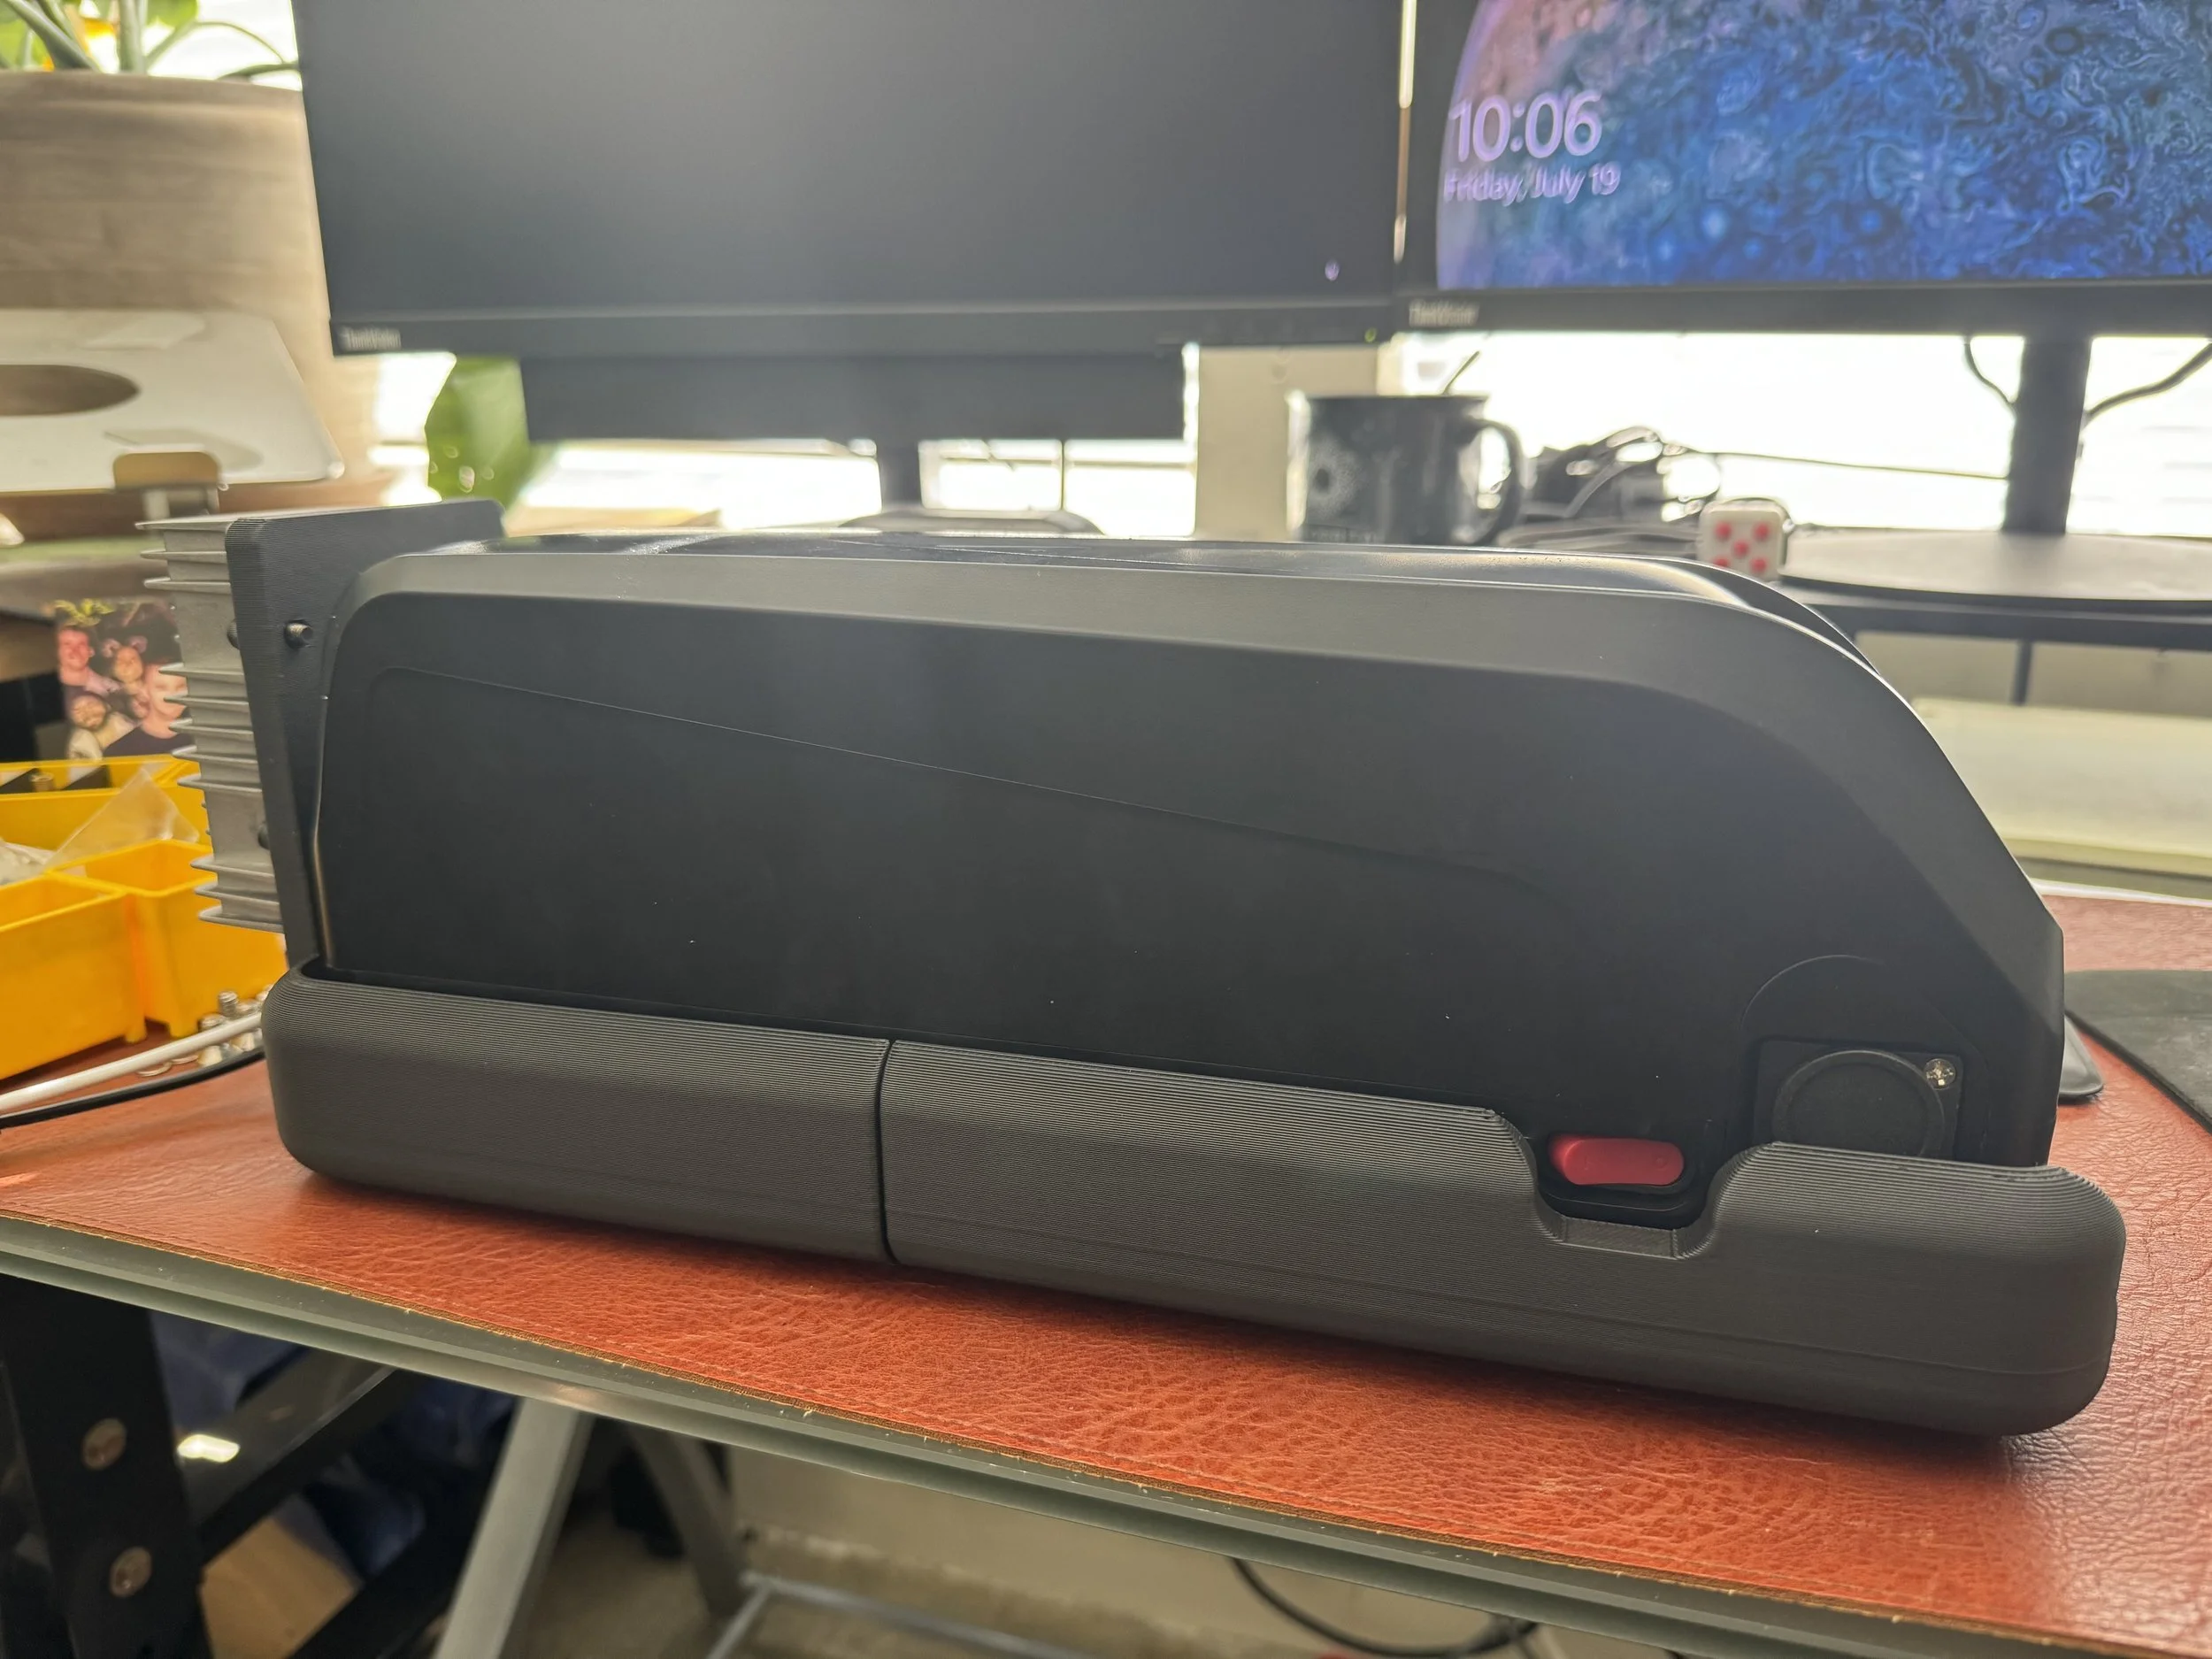
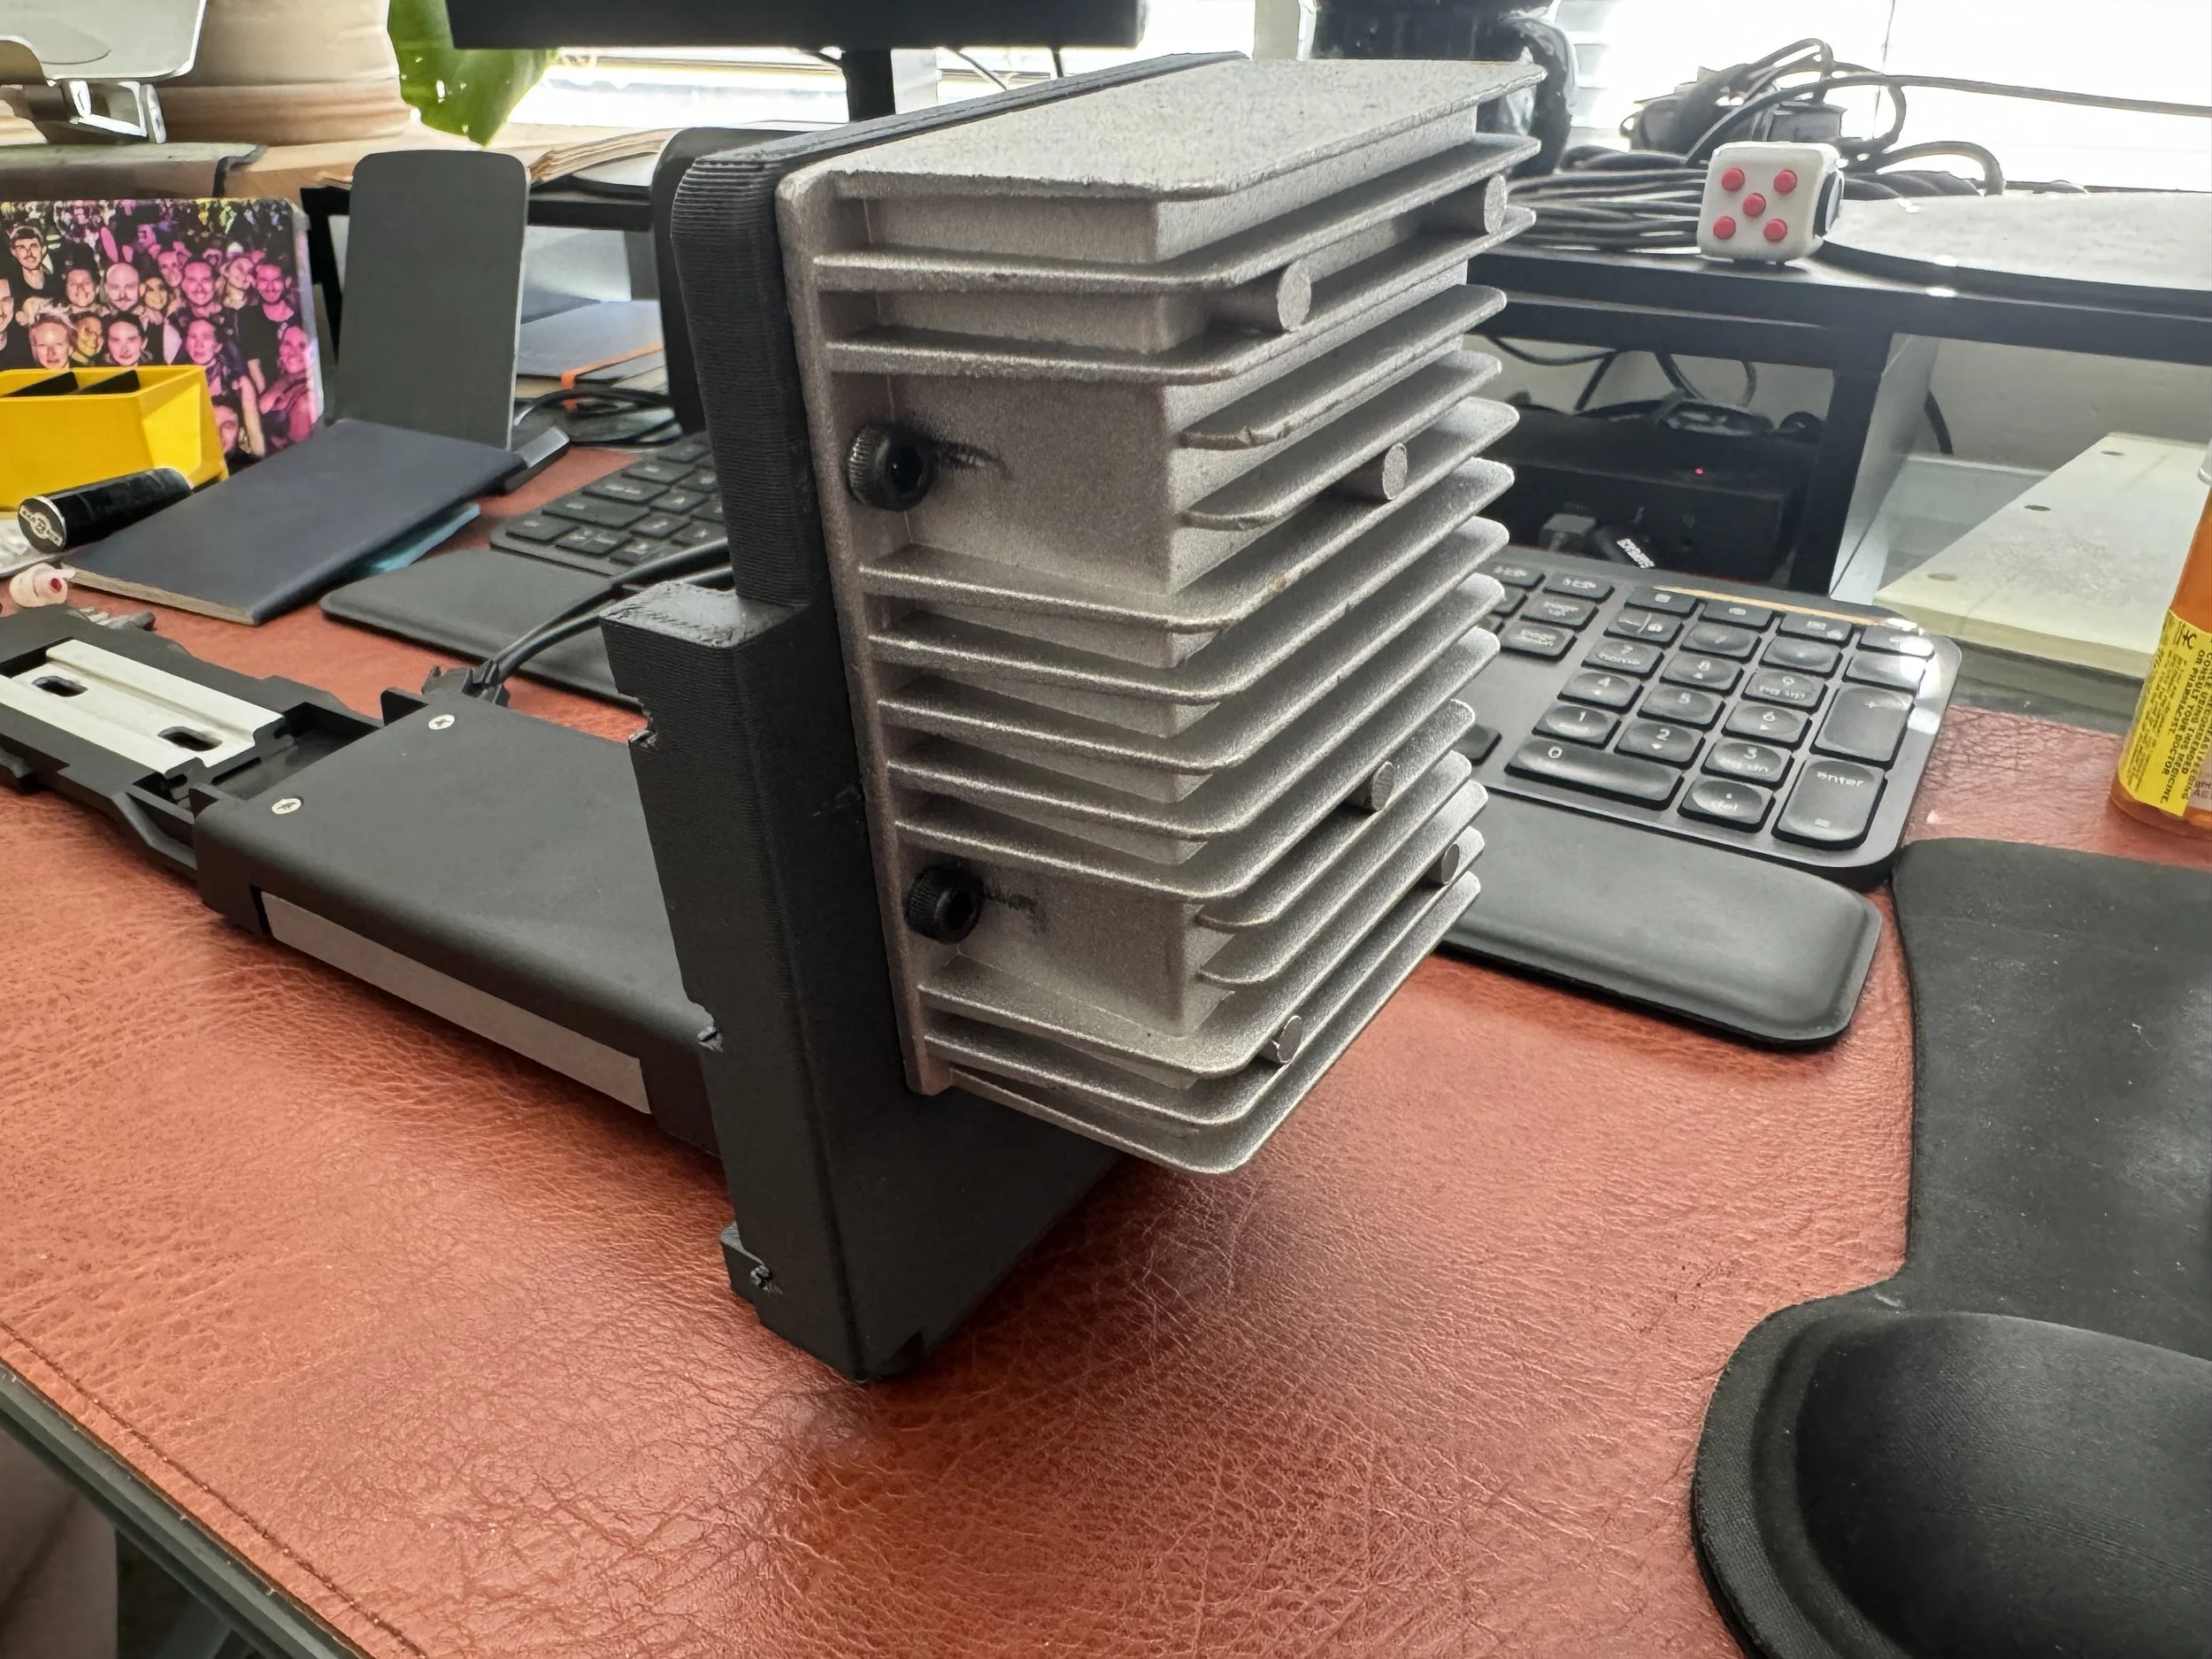
With the motors mounted, it was time to figure out the electronics. The motors came with motor controllers with far too many extra wires and a mess of connectors. I decided to make my own enclosure for the PCBs and rewire them to use connectors that were easy to detach.


I cut the enclosures in half, keeping 2 of the 4 sides intact for heat sinking, and designing an enclosure around them.


Rewiring the PCBs was tricky, but the end result came out super clean. The connectors on the left and right are for the motors. The connector in the center is for controls (throttle, brake, etc). The connector on the bottom right is the power input from the battery.

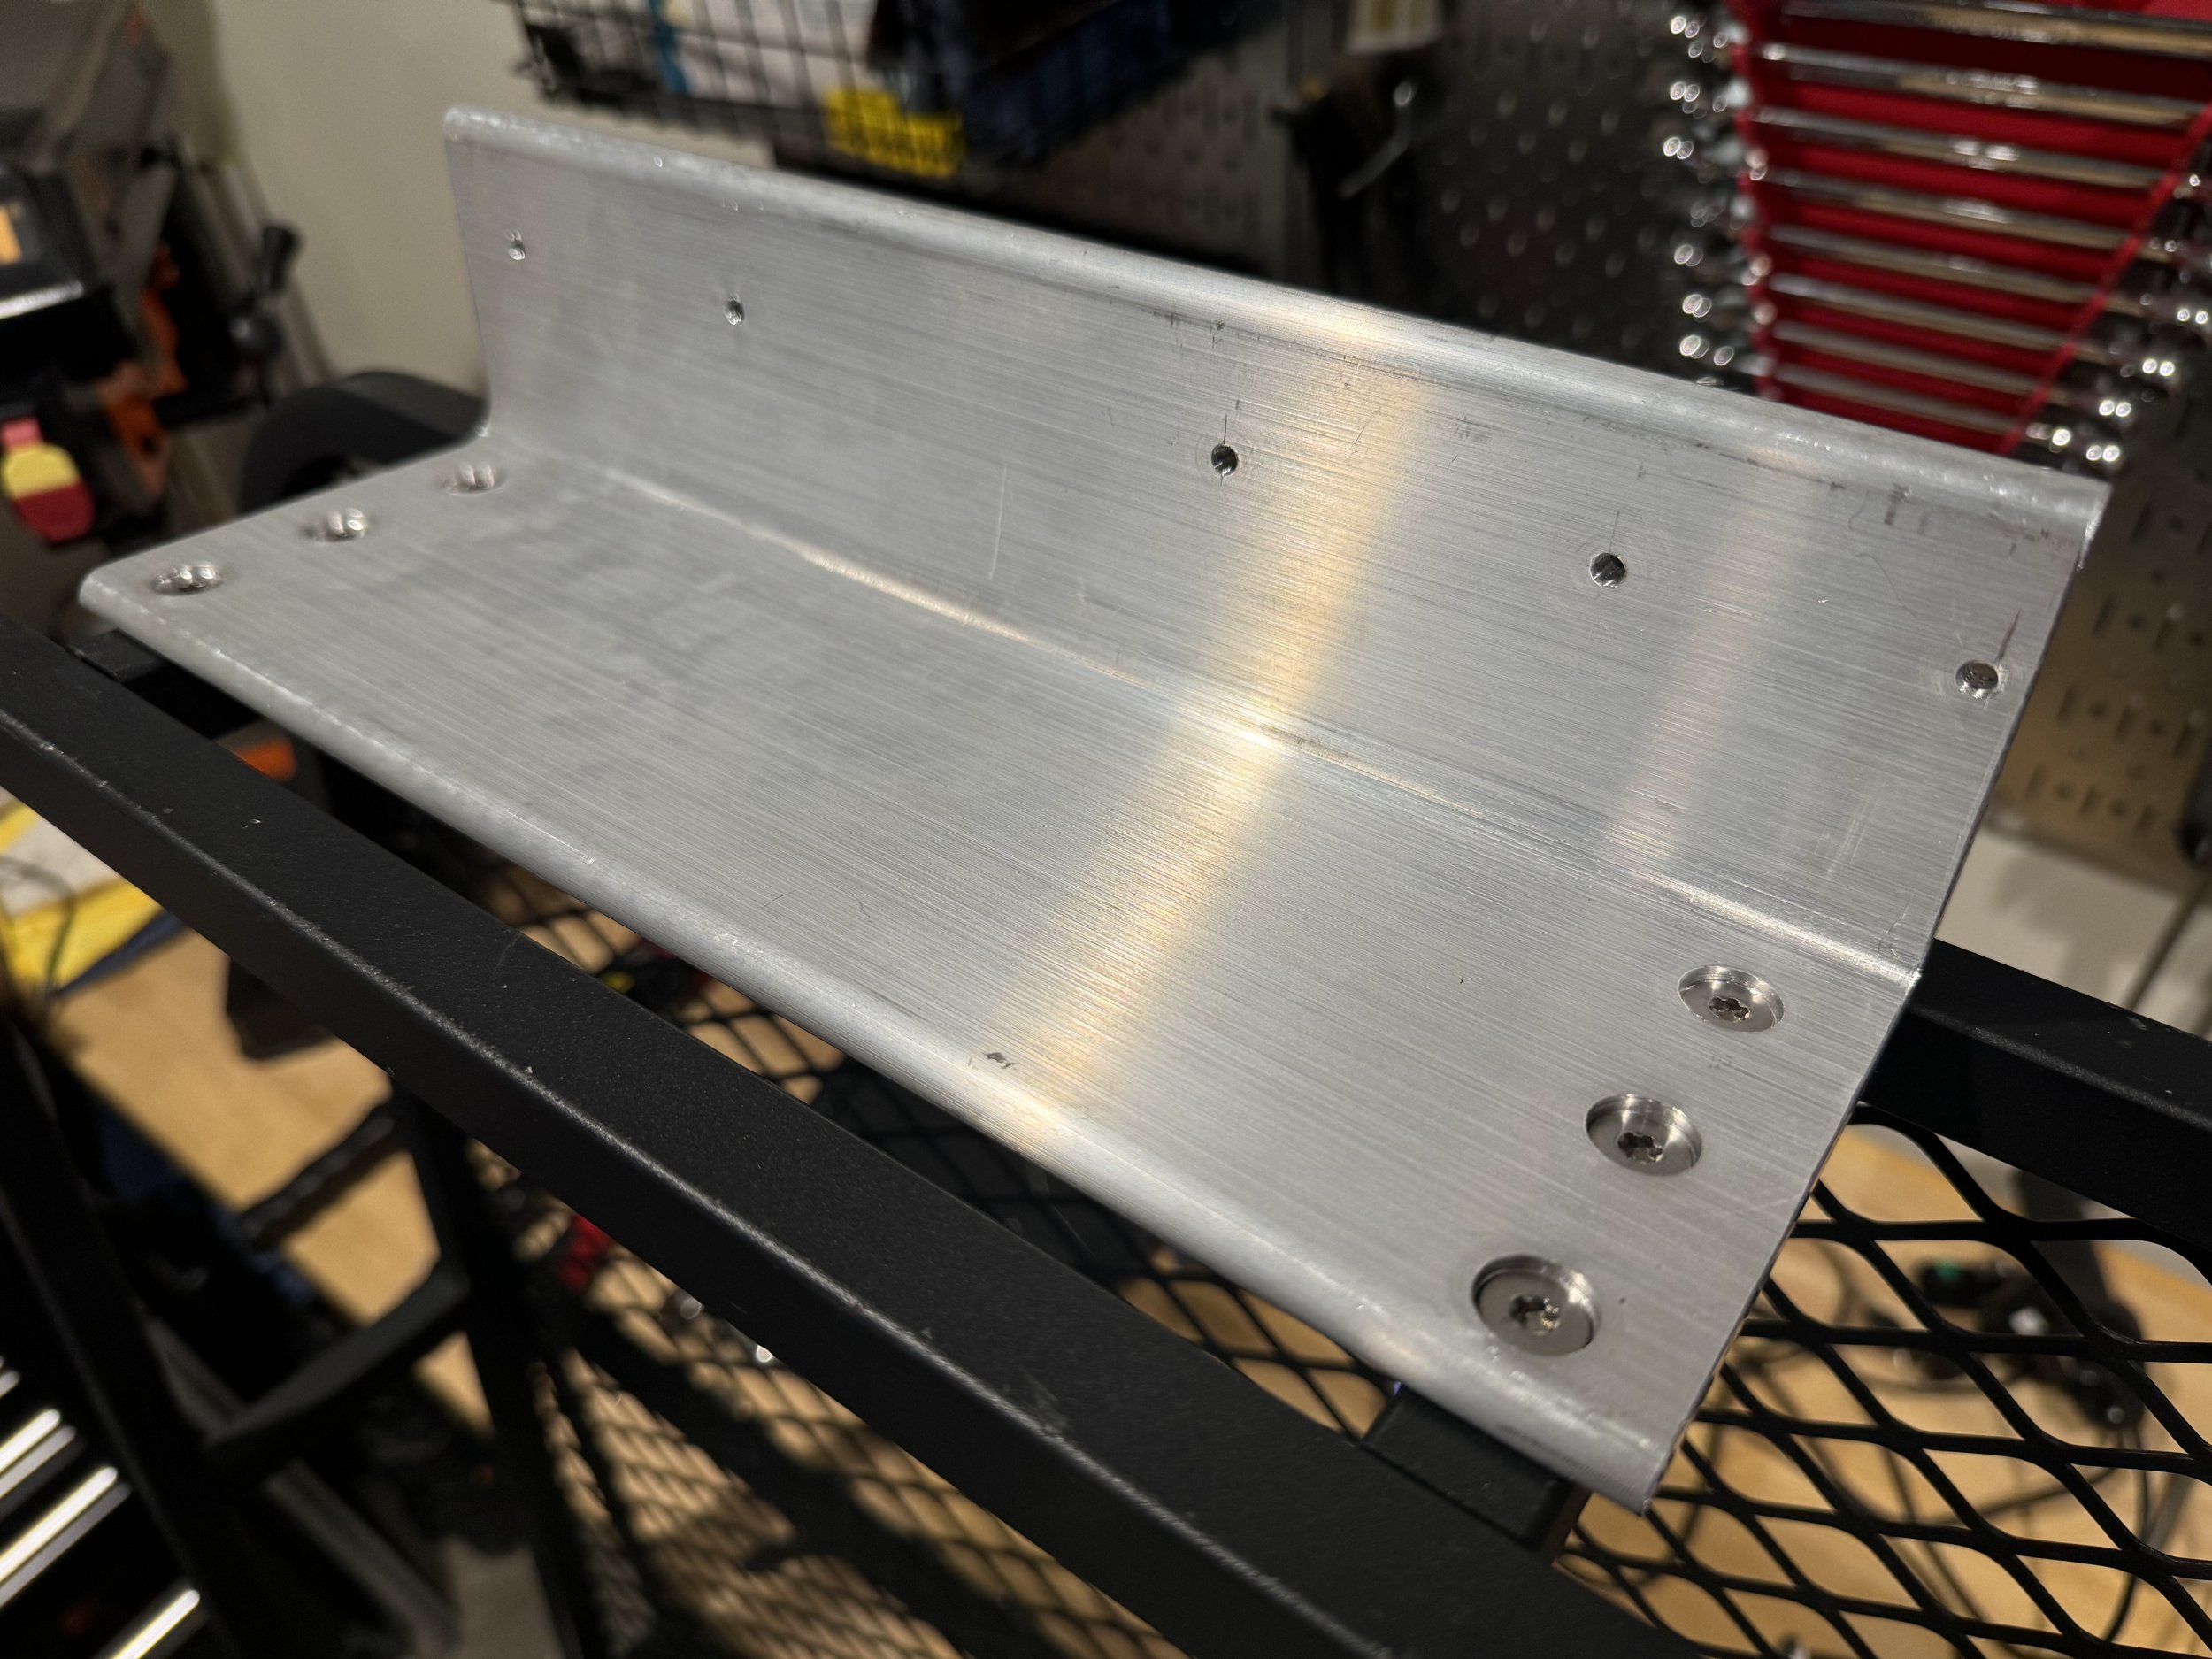
The control box is mounted to the underside of the cart using a bent aluminum plate from SendCutSend.


For mounting the battery, I mounted a large aluminum angle on the front of the cart. To prevent the battery from scraping on the ground and taking damage I 3D printed a bumper. Unfortunately the speed of the motors was a bit too fast, but I found that I could reduce the voltage to 24V, as well as limit the throttle signal to keep things in a reasonable speed range.


Finishing Touches
I added a mounting point for the second wheel using a bit of the spare tube from the original carrier.

I made some extensive modifications to the ignition that was included with the motors to incorporate a throttle range potentiometer, power indicator, and reverse switch. But as time was running out approaching festival season I didn’t get any pictures of this process.